Course Lessons
Tools for Hyprland
Hyprland is great, but...
Hyprland is a great piece of technology, but a base install of hyprland lacks a lot of essential tooling for day-to-day workflows.
But you see, that is kind of the point of Linux, and Hyprland in general. This is not the walled garden of Apple. This is not a Neovim configuration that is fully-baked like NvChad. The point is to give you a tiling WM and you can figure it however you want.
That's Hyprland.
Just like Neovim for Newbs, I'm not going to give you something to copy and paste. We're going to show you the how of configuration so you can make Hyprland sing your tune.
So buckle up, I'm going to show you the programs that I think are essential in any Hyprland installation. And spoiler alert, I use all of these myself.
BUT FIRST
Before we go installing some of the extras, let's update the Hyprland config. These updates make it feel a lot better to me. So let's dig in and modify the config.
You can easily go to the config by opening kitty with $mainMod + R and searching for kitty. After opening kitty, we can use neovim to open our config.
nvim ~/.config/hypr/hyprland.confEdit that config
Changing our file manager.
Let's do a little house cleaning, shall we? The first thing I want to do is change my $fileManager to something that is actually installed on my system. You see, I started with gnome as a base, and I have nautilus installed as my file manager. So let's change that.
$fileManager = nautilusMake our terminal open with $mainmod + return
By default, our terminal shortcut is a little... how should I say, non-ergonomic? So let's change that. We can improve it with a simple configuration change.
bind = $mainMod, return, exec, $terminal
Change our launcher to something more ergonomic
I like the mac OS days of using $mainMod + space to open my launcher. So let's update that as well.
bind = $mainMod, space, exec, $menu
Last but not least, vim keys for navigation
We can't be vim nerds and use our arrows to navigate between active windows in this setup.
# Move focus with mainMod + arrow keys

bind = $mainMod, h, movefocus, l

bind = $mainMod, l, movefocus, r

bind = $mainMod, k, movefocus, u

bind = $mainMod, j, movefocus, d
ahhhh, that's better
Let's make this config Shine
We need some programs that Hyprland doesn't come installed with. These tools will allow us to make this config a daily driver. Let's start with something that might sound weird at first, but we'll build on it. Let's start with a screenshot tool.
hyprshot
hyprshot is an amazing screenshot tool that provides us with a lot of functionality at little cost. Under the hood, hyprshot uses grim to take images and slurp for selecting the thing to take a screenshot of.
Together, this makes for a great tool.
First, we'll need to install it. If you remember, I use Arch (btw), so I'll use yay to add it.
yay -S hyprshotNext, we can test hyprshot with a simple command.
hyprshot -m windowWhen you run this command, you'll see the mouse has a newfound ability to select a window. And when this window is selected, you'll have a screenshot saved! This is fantastic. Before we move on, we'll add a keybinding to our config.
bind = , Print, exec, hyprshot -m window

bind = shift, Print, exec, hyprshot -m region
Keybinding for Hyprshot
This is great and all, but you know what? I don’t see any notification that a screenshot was taken. Which brings me to my next program on the list.
swaync
swaync is a notification daemon for wayland. The way swaync works with hyprland is amazing. It also looks pretty great out of the box.
To use swaync, we'll need a companion program. You see, swaynv is really just a daemon that waits for notification events, and displays these notifications in wayland systems. We need the program that actually sends the notifications.
Thankfully, libnotify is pretty ubiquitous on all linux systems. In fact, libnotify should be installed on your system already. If it isn't, check your base system's notification program.
Installation of Swaync
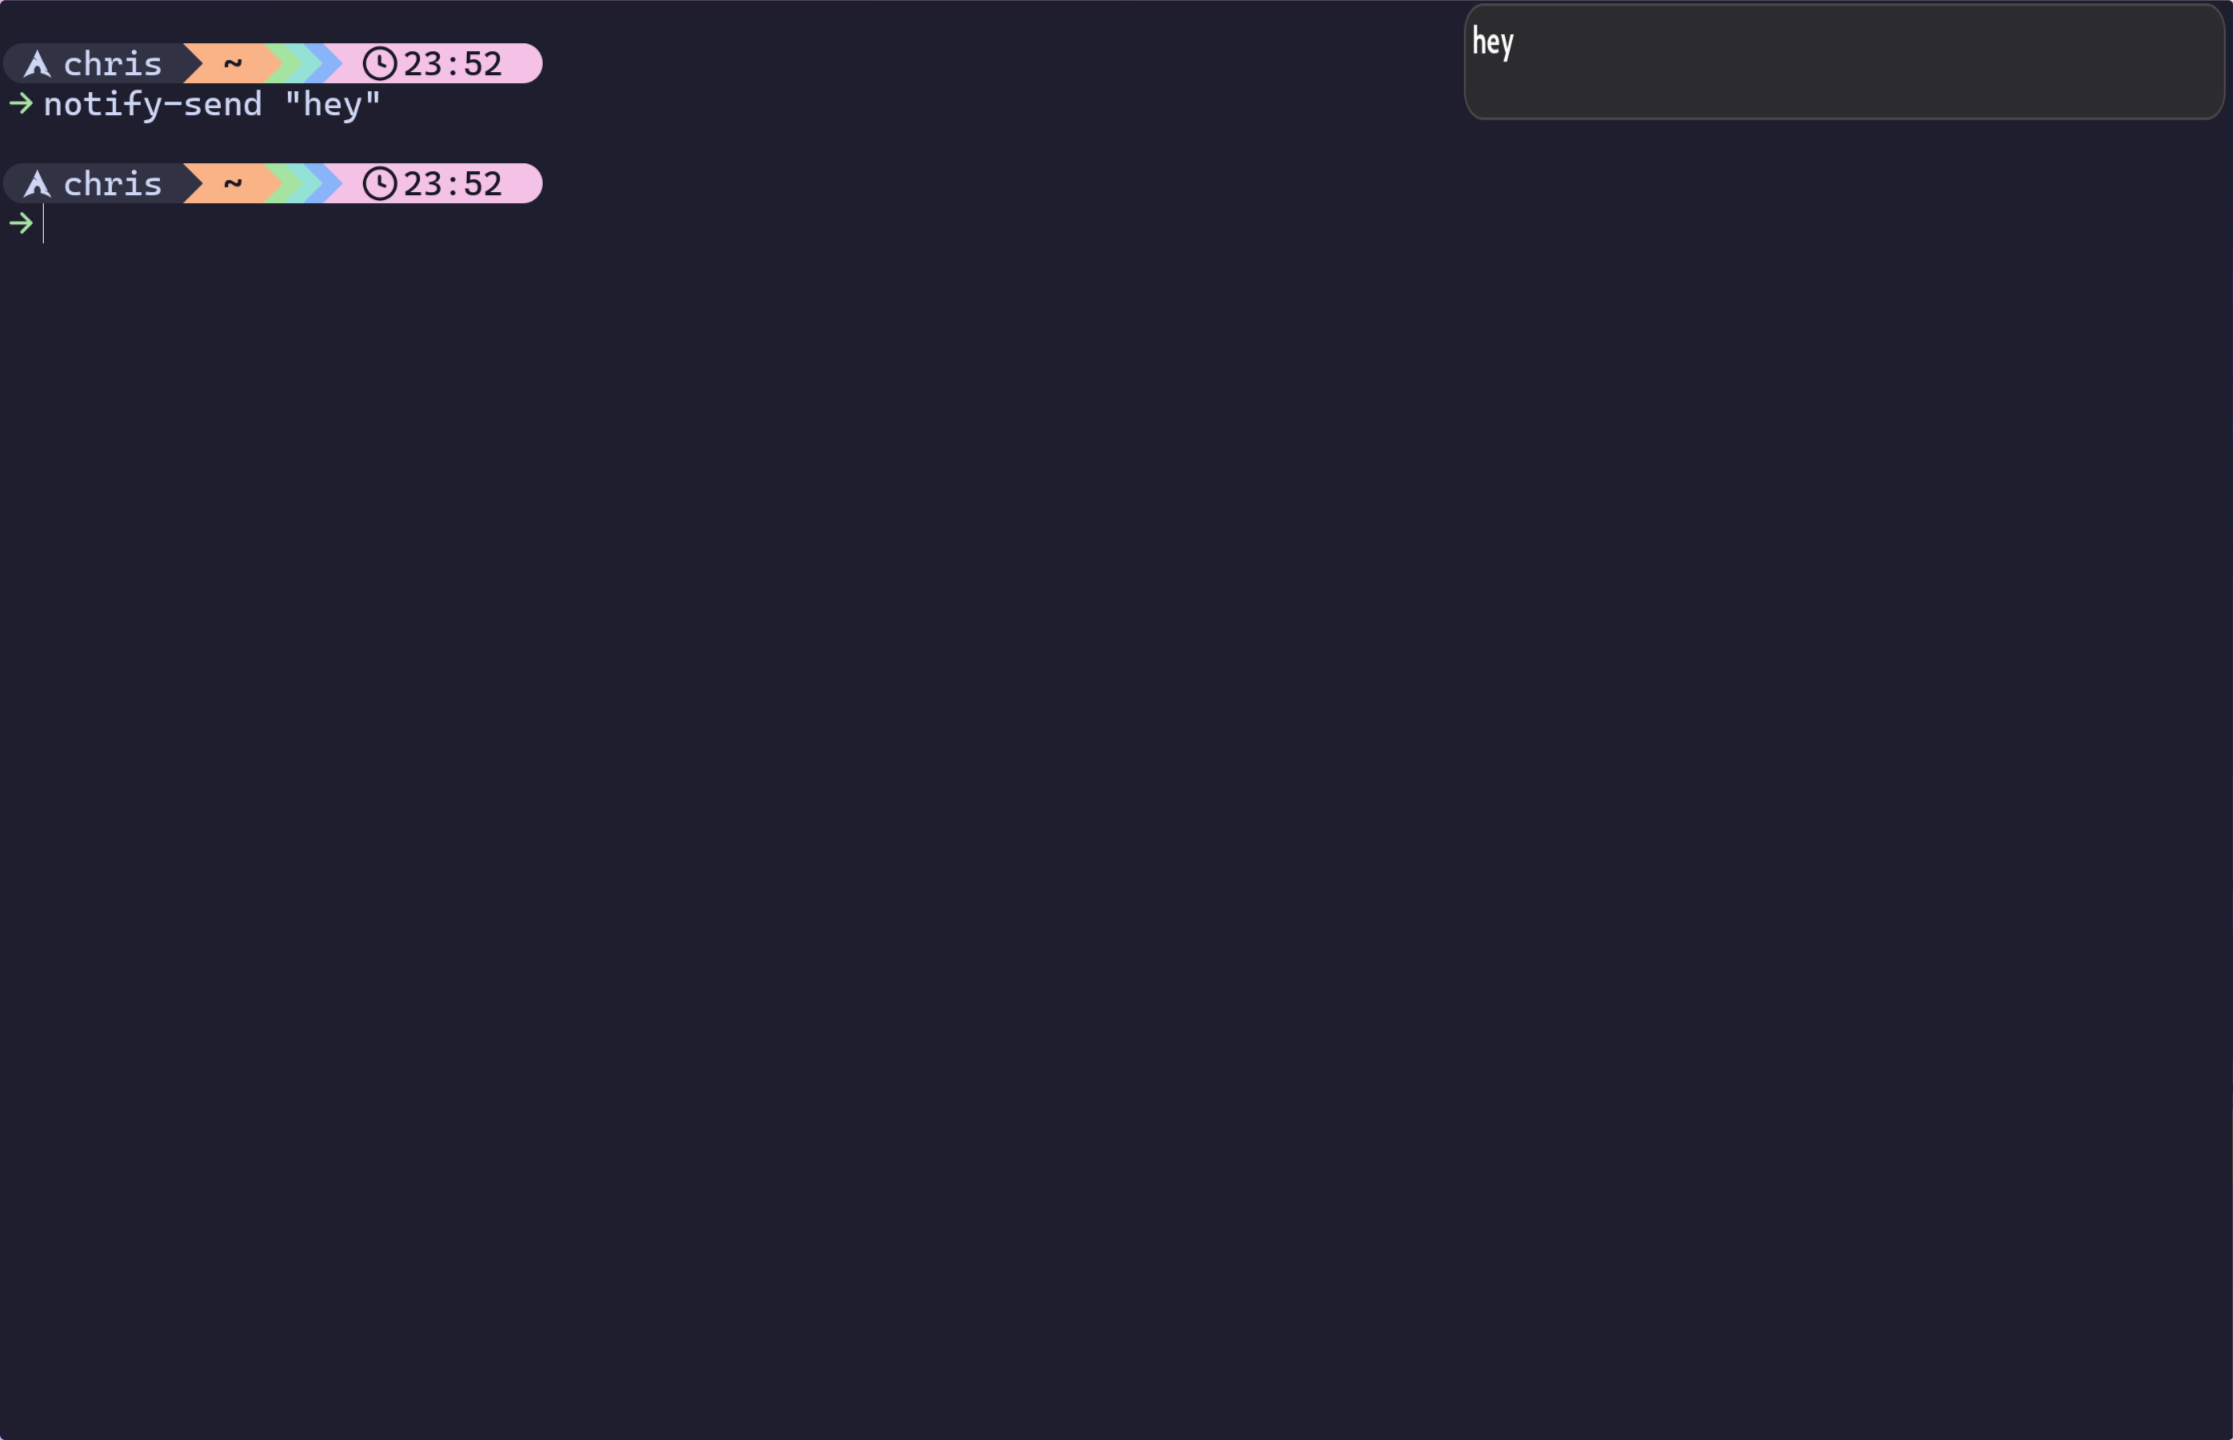
yay -S swaync Once installed, we can run swaync in our terminal by just typing swaync. Next, open up another terminal, and test that swaync is running correctly. We can send a notification to swaync using libnotify by running the notify-send command, like so:
notify-send "hey this is a notification"Test your notifications!
Next, we are going to want to make sure our notification daemon is running whenever we load hyprland. To do so, we'll add this to our config.
exec-once = swayncAdding swaync on startup
hyprlock
hyprlock is part of the hypr ecosystem. This is a group of tools that work very well with hyprland and add a lot of functionality on top of the base install. For example, it adds the ability to have a lockscreen. Like everything else here, it's highly configurable. First, let's check out the basic usage.
Installation of Hyprlock
You can install hyprlock just like all other packages in this tutorial.
yay -S hyprlockInstallation
For hyprlock to run, you'll need a configuration. Create it easily with a touch command.
touch ~/.config/hypr/hyprlock.confJust like with hyprland, you need to configure it to make it really useful. The good news is, there is a solid base configuration that enables hyprlock to show a basic login form. Once it's locked, you'll see it. You should definitely read the docs for hyprlock but in the meanwhile, here is a basic config for showing the login screen.
" ~/.config/hypr/hyprland.conf

input-field {

    monitor =

    size = 200, 50

    outline_thickness = 3

    dots_size = 0.33 # Scale of input-field height, 0.2 - 0.8

    dots_spacing = 0.15 # Scale of dots' absolute size, -1.0 - 1.0

    dots_center = false

    dots_rounding = -1 # -1 default circle, -2 follow input-field rounding

    dots_fade_time = 200 # Milliseconds until a dot fully fades in

    dots_text_format = # Text character used for the input indicator. Leave empty for a rectangle that will be rounded via dots_rounding (default).

    outer_color = rgb(151515)

    inner_color = rgb(200, 200, 200)

    font_color = rgb(10, 10, 10)

    font_family = Noto Sans # Font used for placeholder_text, fail_text and dots_text_format.

    fade_on_empty = true

    fade_timeout = 1000 # Milliseconds before fade_on_empty is triggered.

    placeholder_text = <i>Input Password...</i> # Text rendered in the input box when it's empty.

    hide_input = false

    rounding = -1 # -1 means complete rounding (circle/oval)

    check_color = rgb(204, 136, 34)

    fail_color = rgb(204, 34, 34) # if authentication failed, changes outer_color and fail message color

    fail_text = <i>$FAIL <b>($ATTEMPTS)</b></i> # can be set to empty

    fail_timeout = 2000 # milliseconds before fail_text and fail_color disappears

    fail_transition = 300 # transition time in ms between normal outer_color and fail_color

    capslock_color = -1

    numlock_color = -1

    bothlock_color = -1 # when both locks are active. -1 means don't change outer color (same for above)

    invert_numlock = false # change color if numlock is off

    swap_font_color = false # see below

position = 0, -20
halign = center
valign = center


}
The above ☝️code will show a basic input form when your screen is locked. Try it out by running hyprlock. It is cool, albeit barebones.
We'll add a keybinding to our config now so it's easy to lock our machine whenever we go outside to touch grass.
bind = $SUPER_SHIFT, l, exec, hyprlockhypridle
Another basic thing that any system really needs is some power-saving and auto-sleep features. Another tool in the hypr ecosystem is hypridle. It gives us all that we need VERY easily.
Install Hypridle
yay -S hypridleInstallation
Hypridle has a very interesting and powerful convention for its configuration. Just like with hyprlock, we'll create our config first.
mkdir -p ~/.config/hypr && touch ~/.config/hypr/hypridle.confhypridle relies on "listener" blocks to control how and when it runs certain things. You can test this out with a basic configuration
listener {

  timeout = 5 # in seconds

  in-timeout = send-notify "You're timing out!!"

  on-resume = send-notify "You have resumed!!"

}
Basic config
To test it, just run hypridle in your terminal.
☝️will send a notification (to swaync I hope) in 5 seconds that you are about to time out! When you move your mouse, it will tell you that you've resumed. Now you have tested that hypridle is working! Here is a better example of a config you can use moving forward:
general {

    lock_cmd = pidof hyprlock || hyprlock       # avoid starting multiple hyprlock instances.

    before_sleep_cmd = loginctl lock-session    # lock before suspend.

    after_sleep_cmd = hyprctl dispatch dpms on  # to avoid having to press a key twice to turn on the display.

}

listener {

    timeout = 150                                # 2.5min.

    on-timeout = brightnessctl -s set 10         # set monitor backlight to minimum, avoid 0 on OLED monitor.

    on-resume = brightnessctl -r                 # monitor backlight restore.

}

turn off keyboard backlight, comment out this section if you dont have a keyboard backlight.

listener {

    timeout = 150                                          # 2.5min.

    on-timeout = brightnessctl -sd rgb:kbd_backlight set 0 # turn off keyboard backlight.

    on-resume = brightnessctl -rd rgb:kbd_backlight        # turn on keyboard backlight.

}

listener {

    timeout = 300                                 # 5min

    on-timeout = loginctl lock-session            # lock screen when timeout has passed

}

listener {

    timeout = 330                                 # 5.5min

    on-timeout = hyprctl dispatch dpms off        # screen off when timeout has passed

    on-resume = hyprctl dispatch dpms on          # screen on when activity is detected after timeout has fired.

}

listener {

    timeout = 1800                                # 30min

    on-timeout = systemctl suspend                # suspend pc

}
You know what's coming next. It's adding a line to the configuration of hyprland so this launches on load.
exec-once = hypridleConclusion
We’ve covered a ton of ground in this episode of Hyprland for Newbs, and our configuration is now well on its way to being more ergonomic, more functional, and ready for day-to-day use. But we’re just getting started. Hyprland’s minimalism allows for some incredible customization, and we’ve only scratched the surface with tools like Hyprshot, Swaync, and Hyprlock.
What’s next? We’ll be diving into the aesthetics that transform Hyprland from a simple tiling window manager into an environment that not only works the way you want but looks incredible while doing it. We’re talking sleek bar setups, dynamic wallpapers, and personalized themes that make your desktop sing. Your Hyprland install is about to look as good as it feels.
So, stay tuned. If you thought this episode added essential functionality, Episode 3 is going to blow your mind. You won’t want to miss it—Hyprland is about to become your dream setup.
You've completed this lesson!
You completed this lesson less than a minute ago.