Course Lessons
Testing Workflow Hack
We've all been there. You're writing some code (with tests, right?!?) and wrap the implementation. It's time to run the specs.
You run them only to see there is a failure. No problem, let's see the error is on line 57 with an error of the error you hate the most here.
No problem, let's flip back to the code and look at it. Hmm, it doesn't look obvious from this line but maybe we can follow the stack trace and find where the problem originated.
Let's flip back to the test failure. Then back to the code. Then back to the test failure. Rinse repeat until you find the actual root cause.
Wouldn't it be great if you could trigger a test with just a couple keystrokes? What if you could see the test output and your code at the same time?
This one trick will...ok, I'm not going to say that but what I will say is this approach has enabled me to peel back the onion on problems and debug it faster than I would have otherwise.
This is all made possible by Neovim and Tmux.
Vim-test
This plugin makes it easy to trigger those tests in pretty much all the major languages.
So how do we start? Just like we do for any vim plugins. Let's start by creating that new file for this plugin.
We'll create a file called vim-test.lua inside of the .config/nvim/lua/plugins directory.
There we'll add the following code.
return {
  "vim-test/vim-test",
  vim.keymap.set("n", "<leader>t", ":TestNearest<CR>"),
  vim.keymap.set("n", "<leader>T", ":TestFile<CR>"),
  vim.keymap.set("n", "<leader>a", ":TestSuite<CR>"),
  vim.keymap.set("n", "<leader>l", ":TestLast<CR>"),
  vim.keymap.set("n", "<leader>g", ":TestVisit<CR>"),
}
Vim test setup and keymaps
Now once you close and reopen Neovim, you can navigate to a test file and use your leader key (mine is currently set to spacebar) and the letter t to execute the nearest test.
Perfect.
Well, sorta. It still opens this up in a new window, so my feedback loop is fast, but I can't debug failures easily.
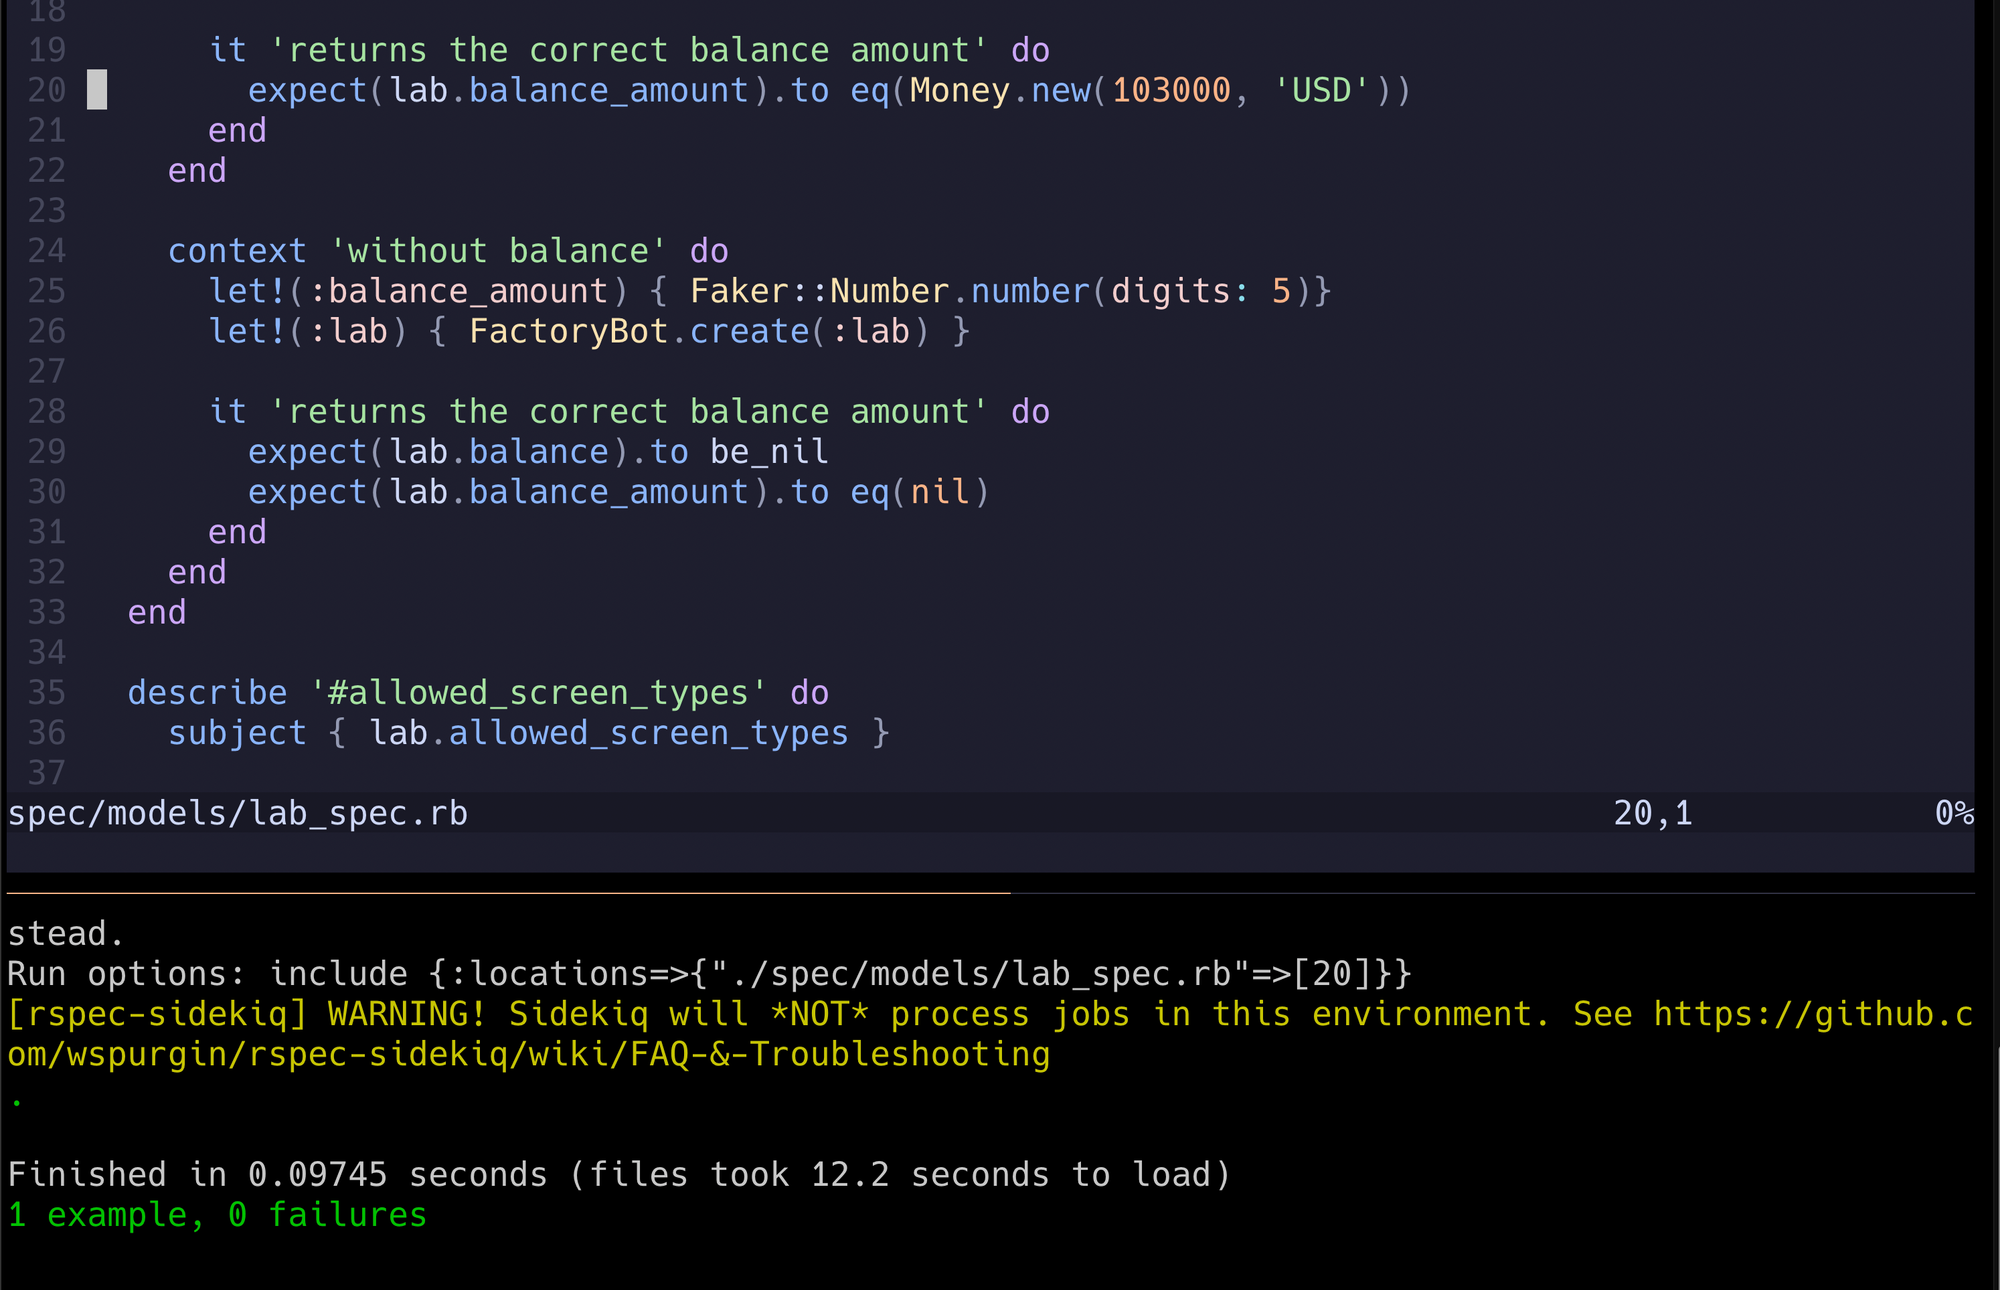
Inside of vim-test offers different strategies on how to run the test. In our case, we're going to try out the strategy vimux. This strategy will allow me to continue to see both my code and my test to debug more easily.
To do this, we're going to have to update our vim-test.lua file. We're going to add two key parts.
First, we add the dependency of vimux. Then we update the strategy to use vimux. The file should look like the one below.
return {
  "vim-test/vim-test",
  dependencies = {
    "preservim/vimux"
  },
  vim.keymap.set("n", "<leader>t", ":TestNearest<CR>"),
  vim.keymap.set("n", "<leader>T", ":TestFile<CR>"),
  vim.keymap.set("n", "<leader>a", ":TestSuite<CR>"),
  vim.keymap.set("n", "<leader>l", ":TestLast<CR>"),
  vim.keymap.set("n", "<leader>g", ":TestVisit<CR>"),
  vim.cmd("let test#strategy = 'vimux'"),
}
Updated vim-test.lua file
So now that we have easy navigation and the test output, what else can we do? Well, sometimes you may want to focus on a specific pane to review a stack trace in greater detail. Or maybe you want the entire screen for your code while you debug. No problem.
To zoom up on one pane, use (Ctrl + s) + z. Now you'll see that entire pane full screen. To back out of it, simply use the same command.
Being able to quickly run the test while still seeing your code allows me to debug, make a change, and run the test again quickly. You've probably seen a running theme with the tools that I use.
It's all about staying in a flow state. Neovim and Tmux play an important part in that.
You've completed this lesson!
You completed this lesson less than a minute ago.