What Is It?
Prior to chatGPT's launch in November 2022, there was another AI tool that focused on coding. That tool was Github Copilot. Github Copilot launched in October 2021, having been trained on code that appeared in public repositories on Github.
Just like chatGPT, Github Copilot is a generative AI model. What's great about this is you can start writing your code and get suggestions on what to write next. You can write a comment about what you want a function to do, and it will suggest implementations.
How does this look in real life?
In practice, what does this look like?
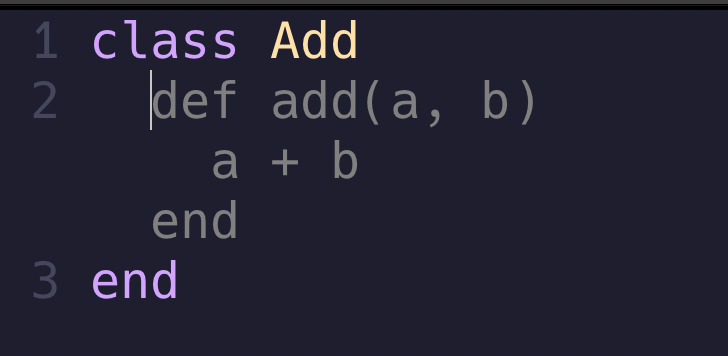
For a basic example, let's create a Ruby class called Add. We're just going to have one method called call. We want to pass it two numbers that will get summed together.
We're going to start from here.
class Add

end
Add class
Immediately, we can see the Github Copilot is going to make some recommendations.

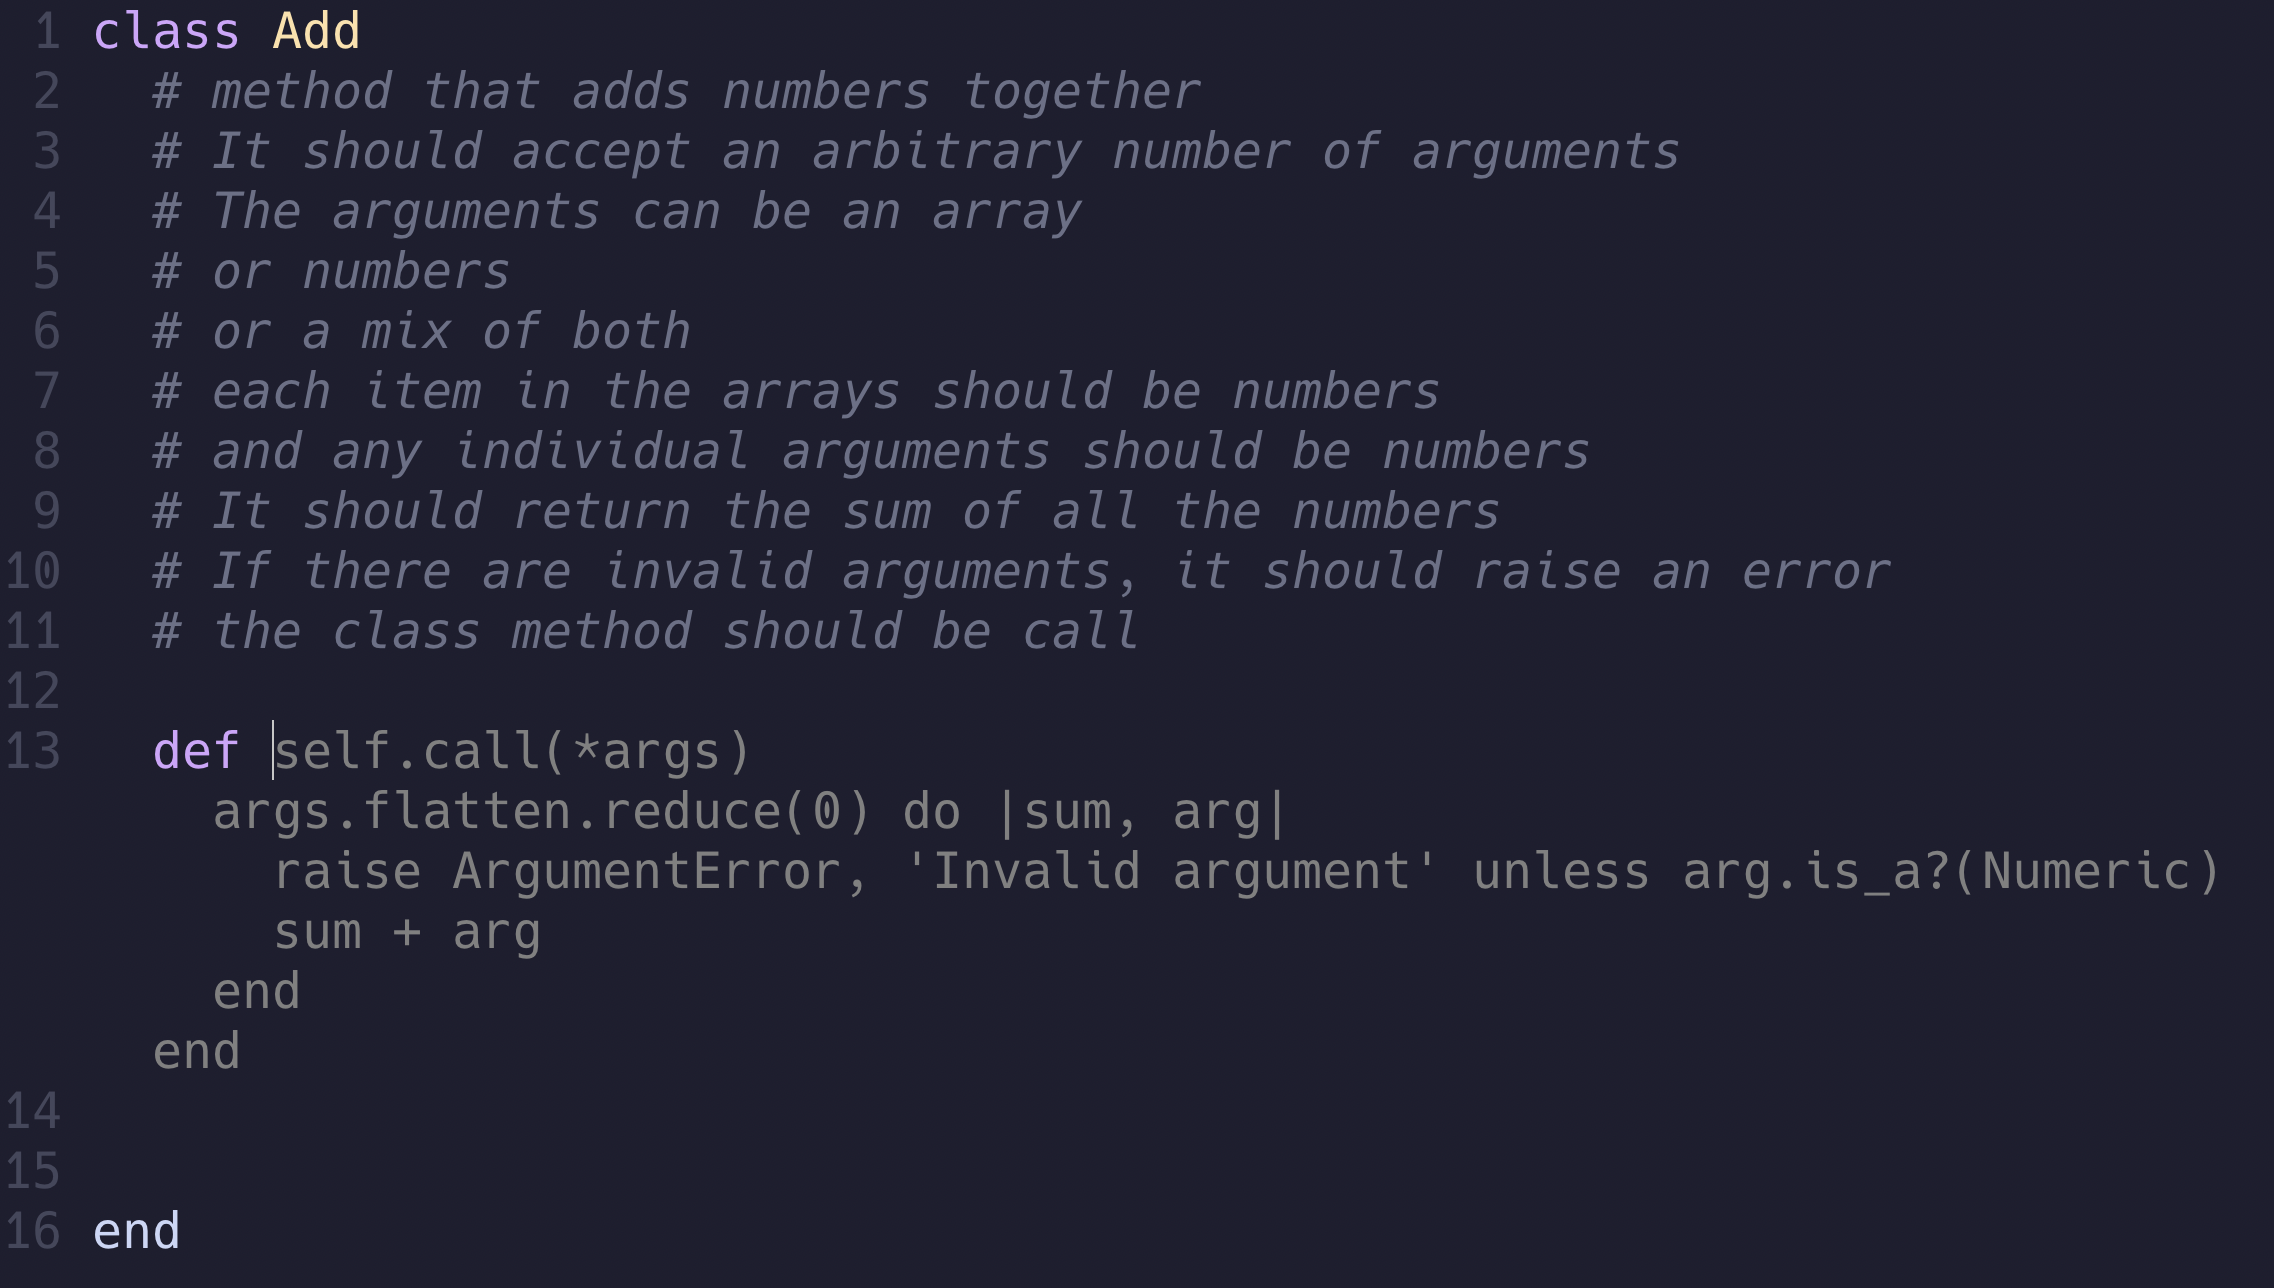
Now, this looks fine, but what happens if I'm passed something other than an integer? What happens if I receive an array instead? What kind of error handling would this be?
Let's try to improve this by commenting on these concerns. Each commented line outlines our concerns and what our acceptance criteria is.

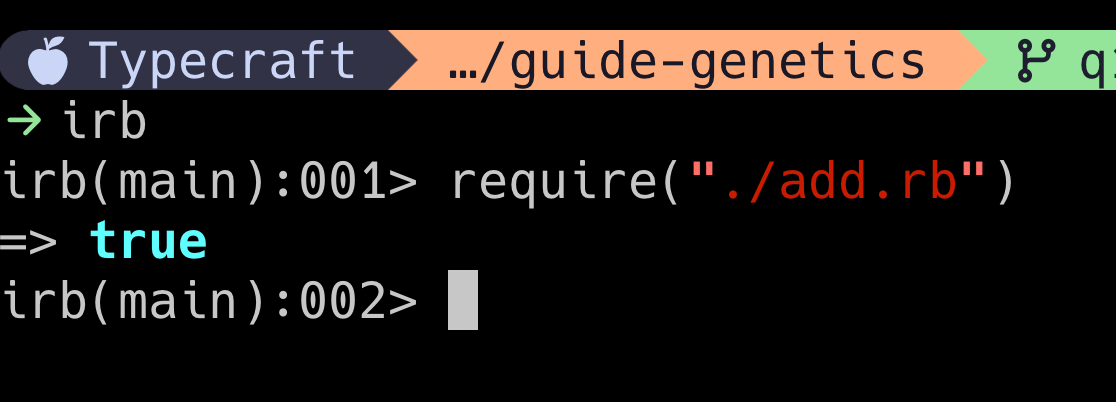
Let's accept this suggestion and try it out. We'll launch an irb session and require the file.

Let's try a basic example.

Let's mix and match arguments with an array and numeric argument.

Let's see how it handles negative paths. We'll try to add the string foo to an array of numbers.

Perfect! It handles the situation as expected. We didn't have to write a line of this code, but we did have to think about potential error cases.
So how do I use this in Neovim?
Well, if you've been following our Neovim for Newbs course, you know how easy it is to add Copilot to our setup. If you haven't take a look. The first episode, which covers a lot of basics, is free for everyone.
In our setup with Lazy, we can simply add a new file called copilot.lua in the folder ~/.config/nvim/lua/plugins. All you have to do is launch nvim and you'll see Lazy do its thing and install the plugin.
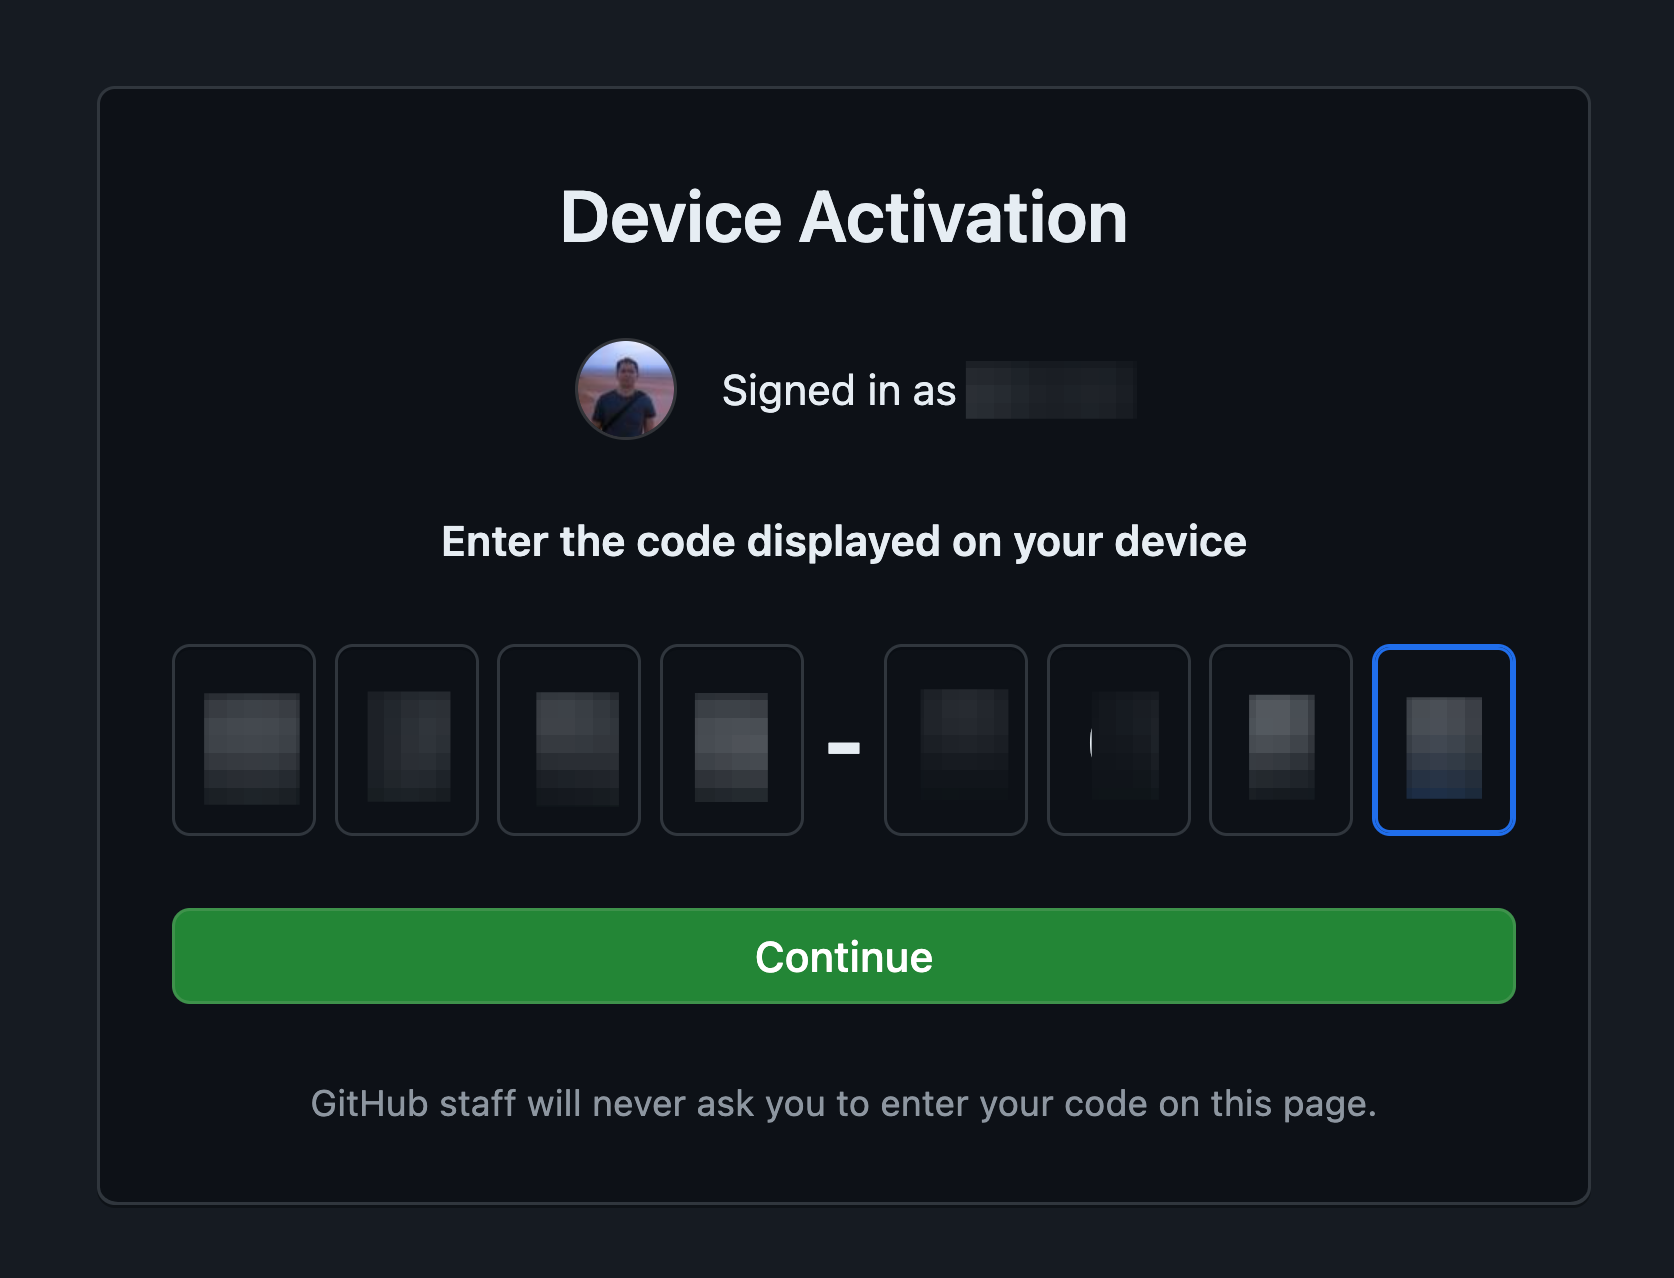
Once it's installed, you have to set it up! By simply typing :Copilot setup, you'll be shown a one-time code to copy. You're prompted to press enter to open Github up in the browser.

You'll land on a Github page like this, where you can paste in your code. If you haven't paid for a subscription, you'll likely be prompted to signup here.


Once you've authorized the plugin, you'll be in the door!
Just start writing code (or maybe just comments) and Github Copilot will become one with you your code.
Considerations
It's worth noting some concerns that people have with Github Copilot — or really any generative AI tool for coding. You should think of Github Copilot as being a dutiful servant who will do what you ask, but only what you ask.
If you cannot discern a bad implementation from a good one, Github Copilot, like chatGPT, can lead you on a wild goose chase. It will confidently tell you the wrong thing, and it may be hours later when you realize that it was not the right path.
You should think of these tools only as being able to make suggestions. They are not a replacement for your knowledge and experience. It can simply make it easier for you to jump over the hoops of forgotten syntax or need to have a solid starting point for an implementation.
Copilot is precisely that — a companion in the passenger seat...not the driver's seat.

