Course Lessons
Containerized Postgres
One of the best parts about using Docker is that there are so many official images that you can use. Postgres is a great example. In this tutorial, we're going to expand our knowledge quite a bit.
- Pulling the Postgres Image
- Starting a Postgres Container
- setting environment variables
- port mapping!
Pulling an Image
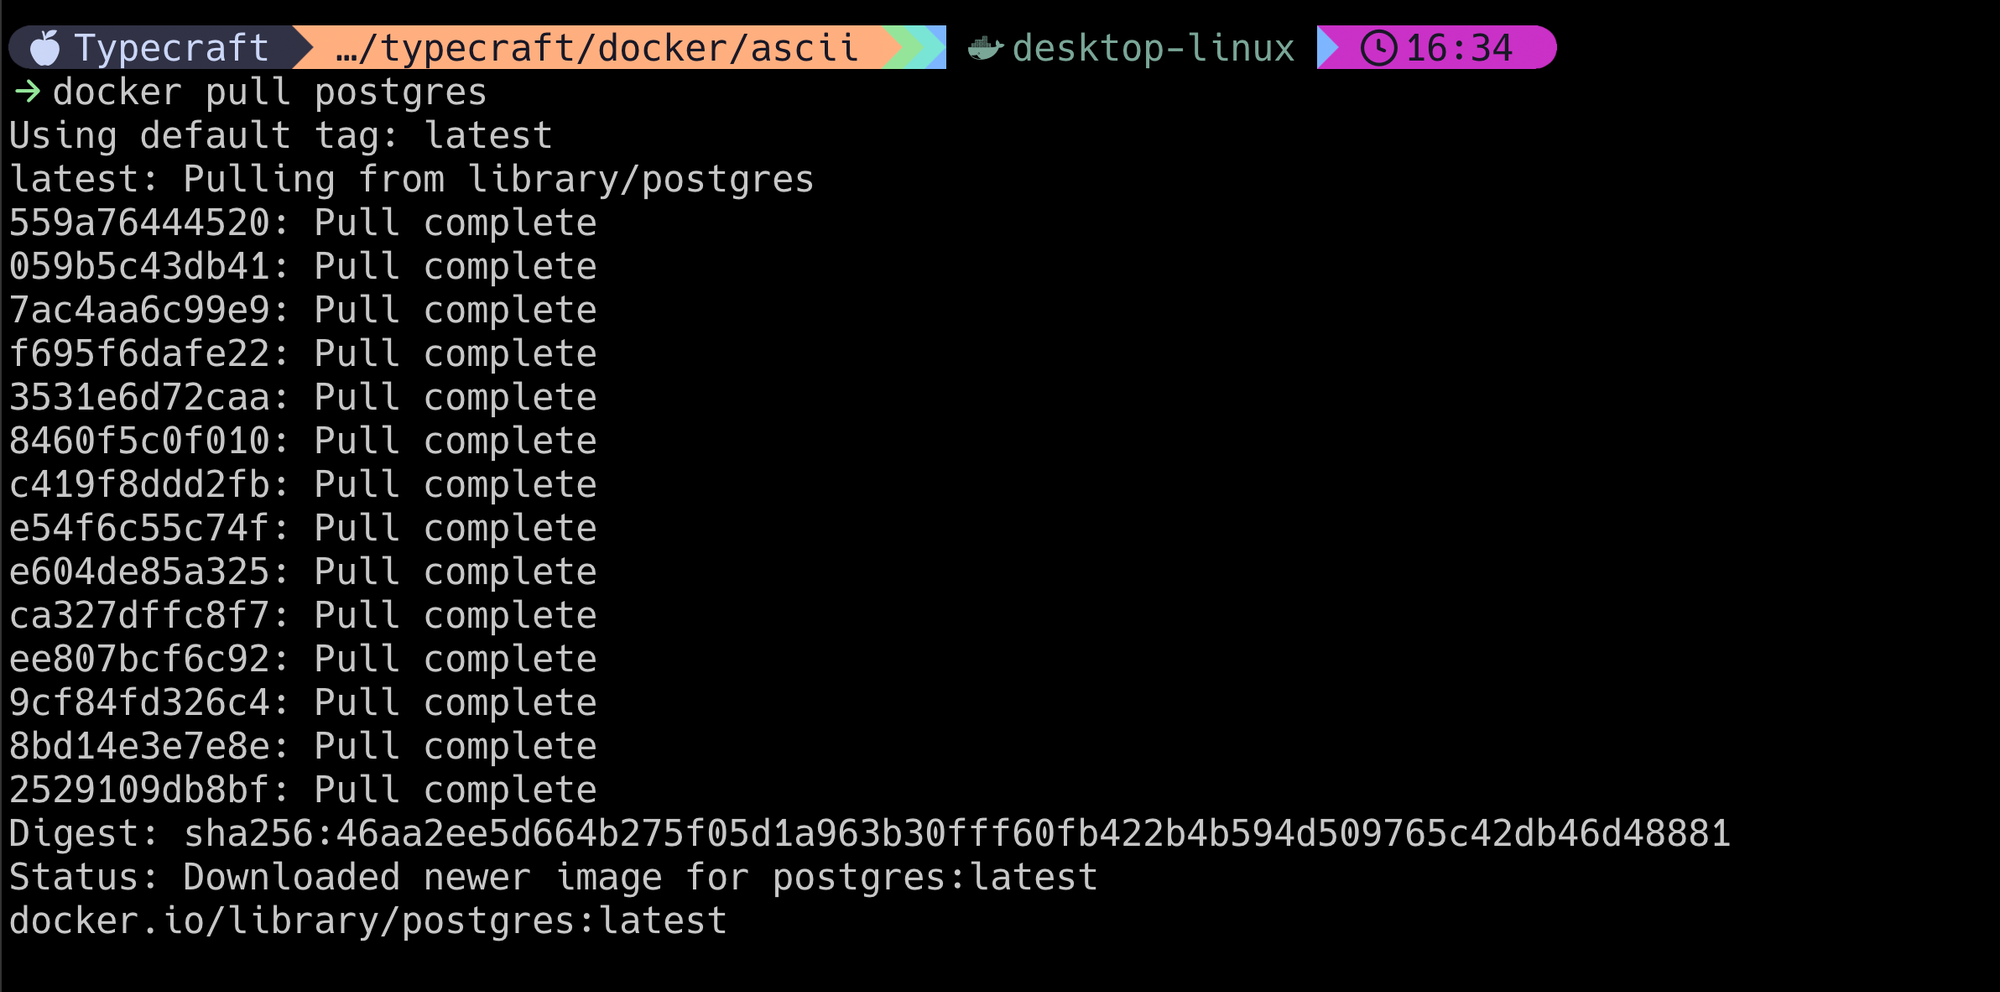
Getting Postgres is a pretty simple task. We can call docker pull postgres and it will pull the latest version.
docker pull postgres:16.3)If all goes well, you'll see something like this.
Starting Postgres
Starting Postgres requires understanding a few core concepts that our simple Ascii art didn't need to cover. Let's cover one that will come up, time and time again.
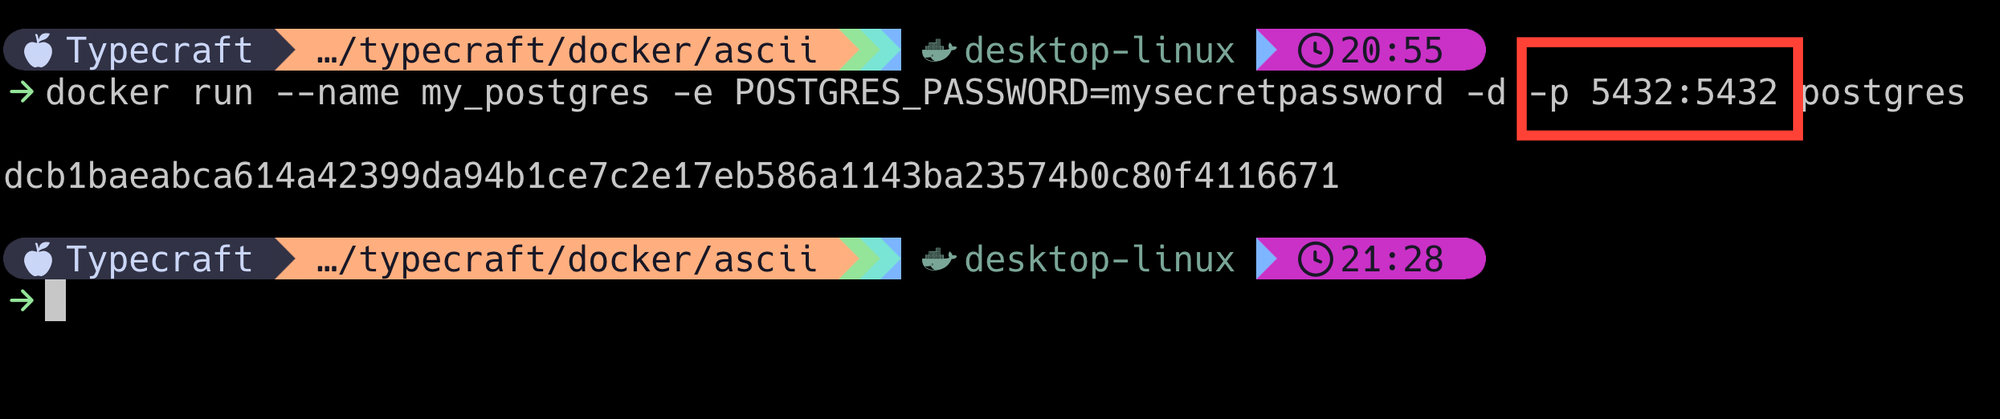
I won't keep you in suspense. Here's the command to do so.
docker run --name my_postgres -e POSTGRES_PASSWORD=mysecretpassword -d -p 5432:5432 postgres
Running Postgres - the simple way
We call docker run with a few parameters. Let's unpack this.
- name: this allows us to give a custom name to a container. This makes it easy to remove the container later on.
- e: Here we can pass environment variables into the container.
- d: Run the container in
detachedmode. We don't need to see the container running. - p: Port mapping. The first number is the port on the host operating system. When you connect to this port, it will link you to this container on port 5432.
Port Mapping - What Is it?
If you're familiar with Postgres or pretty much any service, you know that ports are an important concept. The question, though, is how do we link a port on a container to the host operating system?
Without this connection, we won't be able to communicate with Postgres — which means it might as well not be running. You should think of port mapping as a tool for redirection.
Everything we do flows through the host operating system. It doesn't matter if we're running a container for Postgres, Elasticsearch, Redis, keycloak — anytime we want to reach out and touch these containers, we go through the host.
But how do we connect through our host to the container? We do so by building a bridge between a port on our host to a port on the container.
HOST_PORT:CONTAINER_PORT
Using the -p parameter, we specify the host port and then the container port. Any connection attempt made on the host port will get connected to the container port. This is vitally important, as you'll see soon.
Now, let's check docker ps to see what's running.

Here, you can see a two key things.
- The name was set correctly to
my_postgres - The TCP port
5432is mapped from0.0.0.0(all network interfaces on the host OS) to port5432overTCP.
UDP but that requires /udp at the end of the port mapping parameter (e.g - a DNS server would use -p 53:53/udp to export port 53. TCP is the default protocol.Can we connect?
Well, if you're already running Postgres on your host operating system, the answer is no! That port is already being used. If you try to connect to it, it will simply go to your locally running Postgres.
If you experience this, you'll need to apply our port mapping knowledge!
- First, you'll have to stop the container.
docker stop my_postgres(aren't you glad we named this?) - Remove the container with
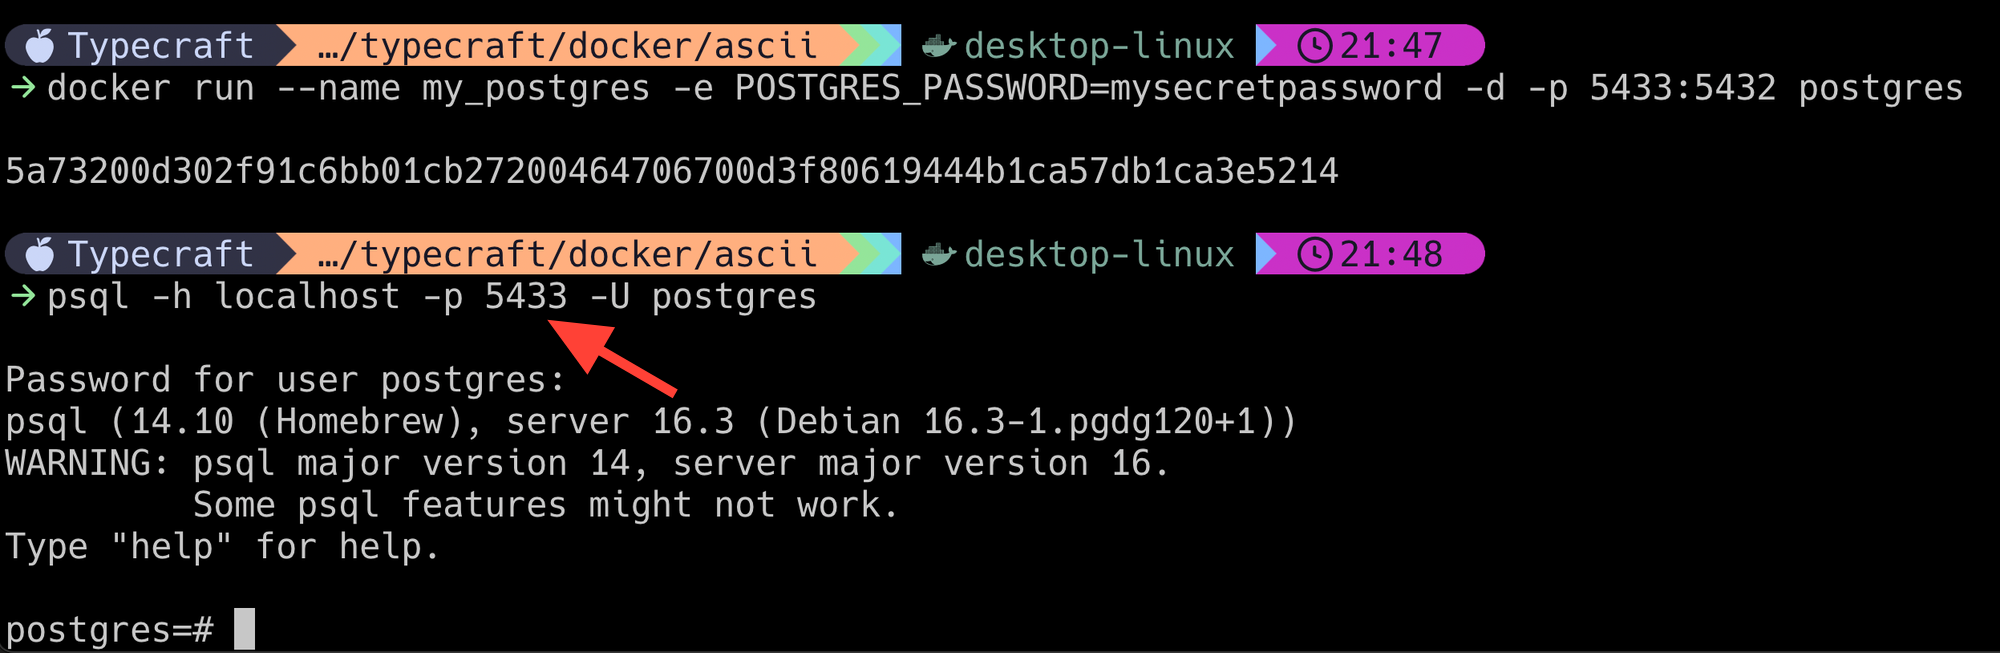
docker rm my_postgres - Start the image again with an updated port mapping. Here we'll use port
5433on our host to connect to the Postgres port5432on the container.
docker run --name my_postgres -e POSTGRES_PASSWORD=mysecretpassword -d -p 5433:5432 postgresLet's give it another shot. We'll need to use psql -h localhost -p 5433 -U postgres. After a password prompt, we're in!
So where does my data live?
The default storage location out-of-the-box is within the Docker container. This is typically /var/lib/postgresql/data. This means that if you were rm the container, all the data would be lost. However, if you shut the container down using docker stop my_postgres, it would gracefully shut down.
In general, you would want to keep the database itself off the container. In the next tutorial, we'll cover our options on where we can keep the data for our database server.
You've completed this lesson!
You completed this lesson less than a minute ago.