Course Lessons
Navigating our file structure
So we want to clean up our messy config, but how do we start? Well, without being able to visualize our file structure, it becomes difficult to make it better.
If you've used VS Code or similar editors, you'll know the file explorer tree. To get one, we're going to add a plugin called Neotree.
When viewing the Github repo, you'll find setup instructions for Lazy. So all we have to do is add this to our lua table of plugins in init.lua.
After adding these lines, your config should look something like this.
local plugins = {
  { "catppuccin/nvim", name = "catppuccin", priority = 1000 },
  {
    'nvim-telescope/telescope.nvim', tag = '0.1.6',
    dependencies = { 'nvim-lua/plenary.nvim' }
  },
  {"nvim-treesitter/nvim-treesitter", build = ":TSUpdate"},
  {
    "nvim-neo-tree/neo-tree.nvim",
    branch = "v3.x",
    dependencies = {
      "nvim-lua/plenary.nvim",
      "nvim-tree/nvim-web-devicons",
      "MunifTanjim/nui.nvim",
    }

  }
}
You'll notice that neo-tree has some dependencies.
- plenary - we already have this as a telescope dependency so we could remove it, but it's good practice to leave it.
- nvim-web-devicons - these provide glyphs in nerdfonts so you can see the file type that you're looking at in the file tree. You'll want to install any nerdfont you'd like. I'm using Hack
- nui - this is used to make custom UIs within Neovim. It makes the file tree explorer display!
So let's close Neovim and reopen it. You should see these plugins get installed. Let's see how it works!
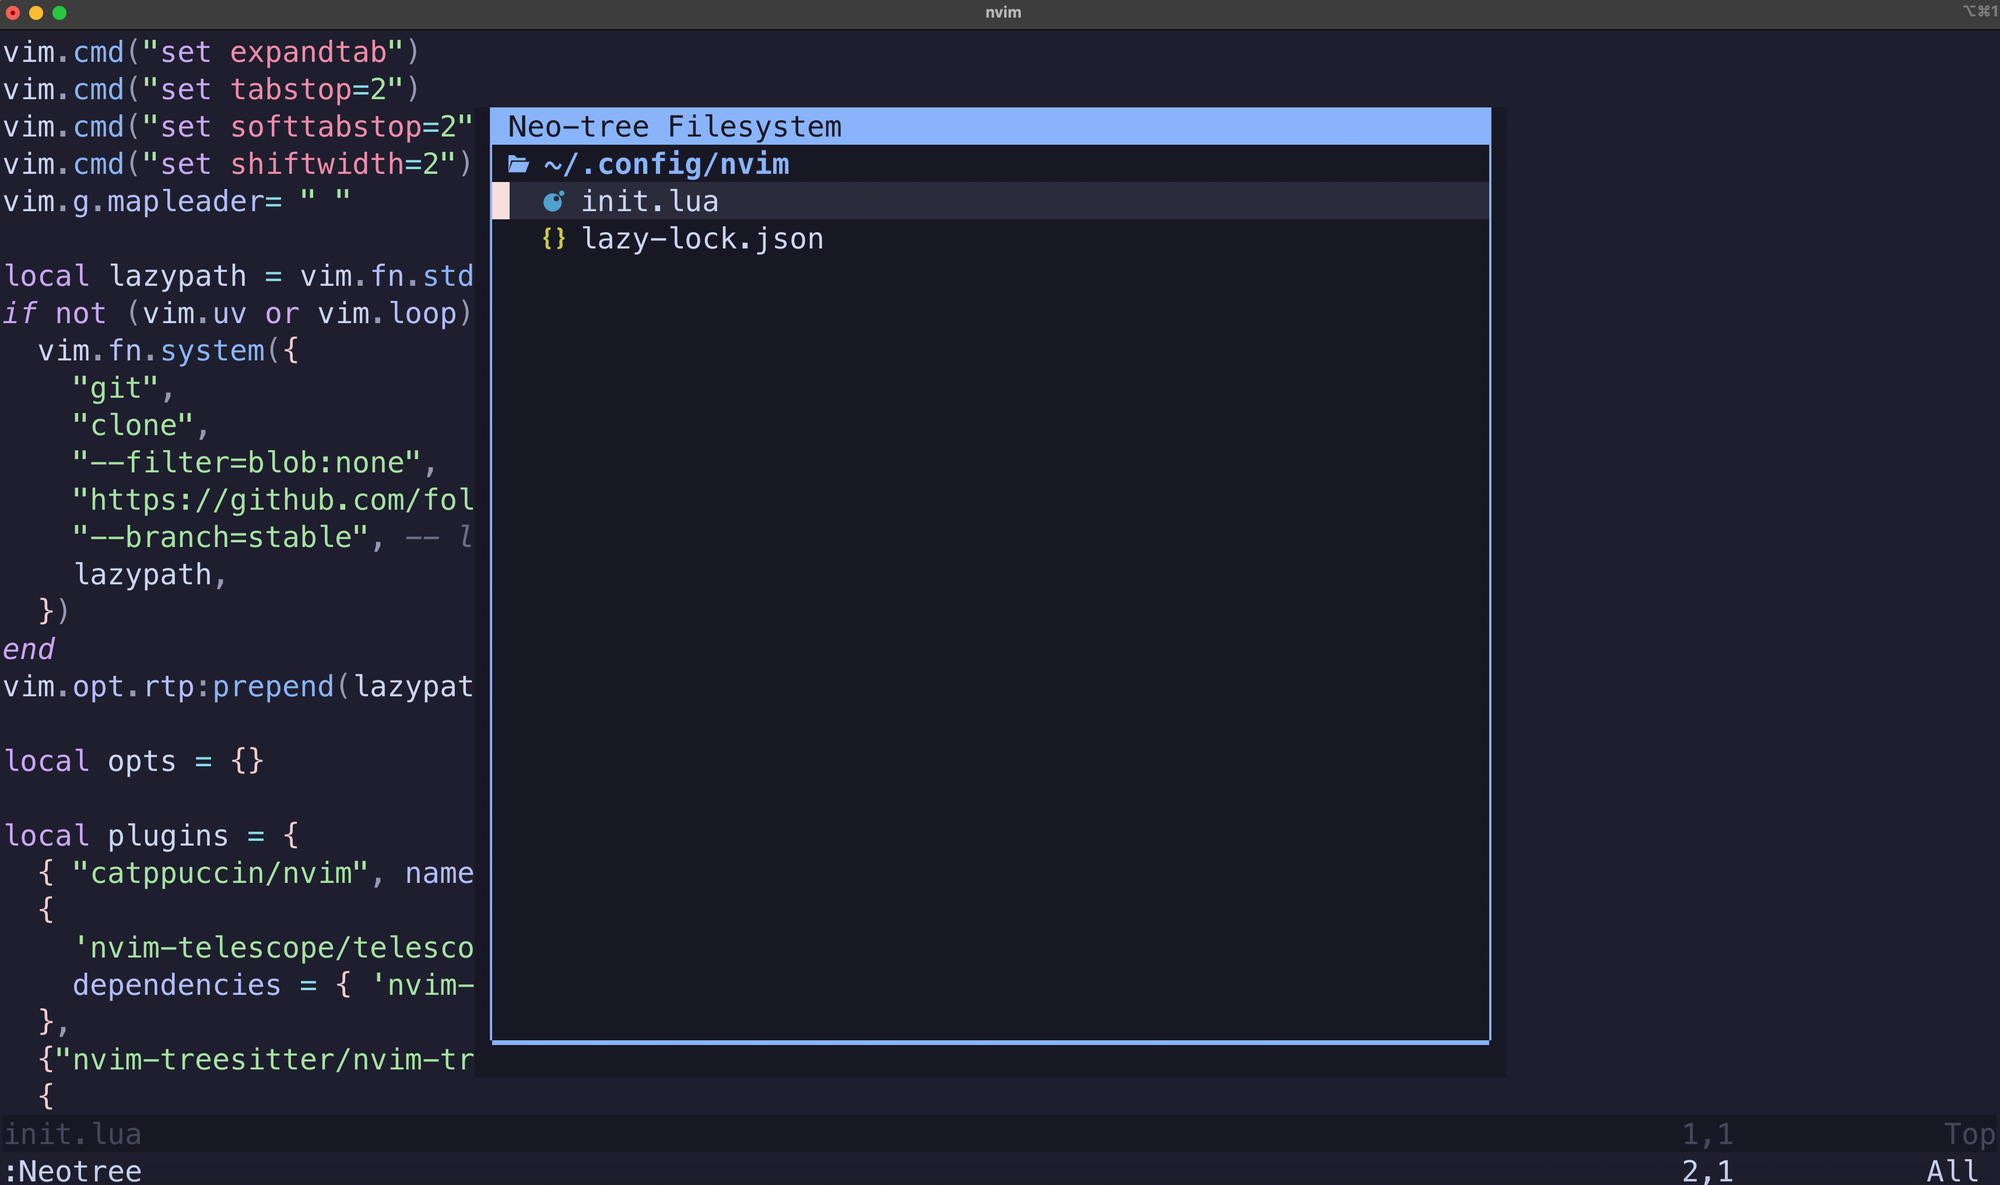
Let's open Neotree by using the command :Neotree filesystem reveal right.
You can navigate this list with your vim navigation keys (h/j/k/l — aka: LDUR). Pressing enter will load the file.
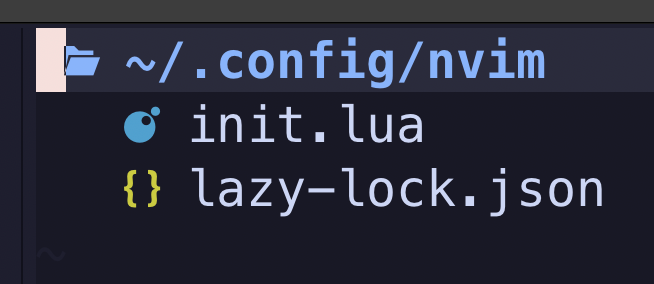
You'll notice that I have some awesome glyphs for lua and json. If you don't see these, then you'll need to install that Nerd Font.
Now, we don't want the file pane to be on the right, so let's switch it back.
:Neotree filesystem reveal left
You'll notice that like VS Code, the file management pane will remain open. However, you can optionally have it close when you open a file. You can do this by adding this setup to our init.lua file.
require("neo-tree").setup({
        event_handlers = {

          {
            event = "file_opened",
            handler = function(file_path)
              -- auto close
              -- vimc.cmd("Neotree close")
              -- OR
              require("neo-tree.command").execute({ action = "close" })
            end
          },

        }
      })
However, a simpler way is to use :Neotree filesystem reveal float which will open the file management pane in a floating pane. Once you select a file, the pane is automatically closed.
Pick whichever solution works best for you, but we'll definitely want to have a keymap. Nobody has time to type :Neotree!
--keymap for Neotree
vim.keymap.set('n', '<C-n>', ':Neotree filesystem reveal float<CR>')
This translates to —when in normal mode, pressing control+n will open Neotree in a floating pane. Don't forget, you can set it to left, right, top, or bottom. If you want to close the file on open, you can drop in the snippet above.
No problem! To update this, you can use the following keymap.
vim.keymap.set('n', '<C-n>', ':Neotree filesystem toggle reveal left')Now that we can see what we have, we can really start to break things apart into a modular approach!
You've completed this lesson!
You completed this lesson less than a minute ago.